Tablet Surgery requires extreme patience and concentration. Sometimes the most arduous task like resetting BIOS (in this case unplugging the battery for 3 seconds) can turn into a 45 minute marathon.
In UberTablet.blogspot.com we’ve promised to BLOG our Tablet PC experiences (Sydney, Australia). This experience is a visual feast for all you Hardware geeks, and Tablet PC enthusiasts to remember and share.
20:45 1st Feb 2006 Uber Nurse: Doctor, Doctor, we’ve lost the pulse…what do we do?
Uber Doctor: Give me a summation of the situation please nurse?
Uber Nurse: The victim (Tablet PC) came in at approximately 20:45. We initiated DC into the device and tried reboot – no avail! We’ve removed the battery pack and inserted 60GB of 5400rpm H.D.D and again no elation!! Currently we’ve not witnessed signs of life for approximately 90seconds. Family members, upon questioning, recall no odd behaviour prior to the event. “We’d placed a Gig of RAM in the device about a week ago”, one distraught family member recollects, “the next time I went to utilize the device I couldn’t wake her up”, he lamented just before bursting into tears.
Uber Doctor: Nurse, knowing that Microsoft Knowledge Base chronicle’s Hibernation issues with Tablet PC Edition 2005 ( http://support.microsoft.com/kb/893056) I recommend a BIOS reset and immediate FLASH after reboot.
Uber Nurse: But Doctor…
Uber Doctor: Nurse! Please! I’m familiar with the procedure; now hand me the 9mm philips screwdriver and initiate pouring of 350ml of Soda Water…for me please.
The following is a graphical record of BIOS resetting on the Sahara Slate PC. While the procedure may seem daunting, I will use all resources at my disposal to journal the event, for your future reference and mine.
Do not try this at home folks. I’m highly skilled, experienced, and have the replacement parts at hand in case things get ugly. It's important for you to know that this issue (as per
Microsoft KB 893056) is now virtually non existant with Tablet PC. The key here is to have the latest Manufacturer BIOS installed on your Tablet at all times.
Lets begin:
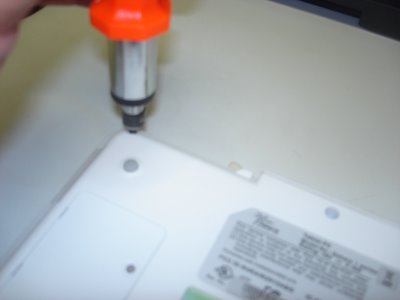
Take 1x non-booting iTablet Slate PC (Sahara) and my trusty 100-in-1 Screwdriver set;

Now dismantle;
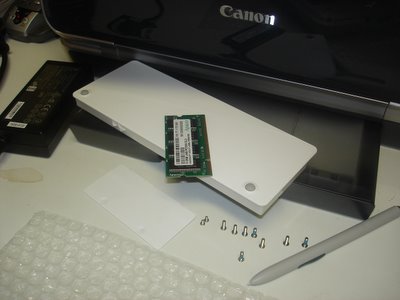
Take the RAM cover plate off and lift the memory module out (PC2700 184pin SDRAM), remove the Battery Pack, 8 medium sized screws, 2 small screws, and the Wacom Digitizer pen out of its sleeve - the bubble wrap is there to protect the Tablet from incidental scratches from my workbench;
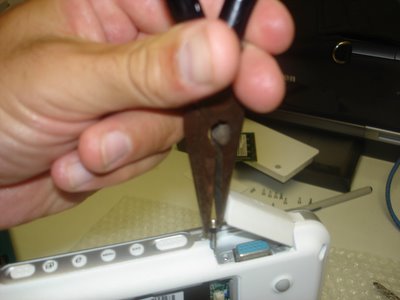
Unscrew the VGA connectors.
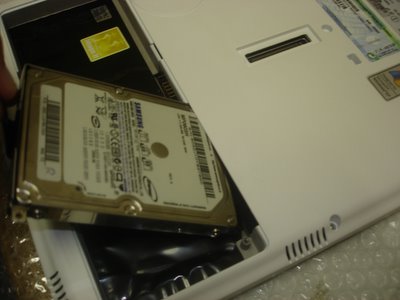
Now unscrew 1x small screw and you can pry out the 2.5" hard drive.
Almost forget, pop out CF slot protector from the CF slot.
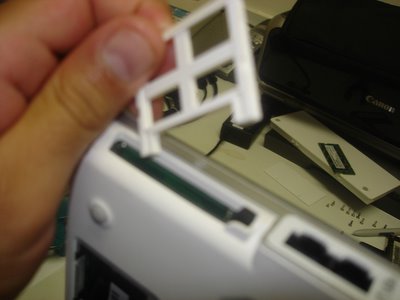
Now stick your fingers in and CRACK, the case will begin to show some PCB. Can you smell it? mmmmm...
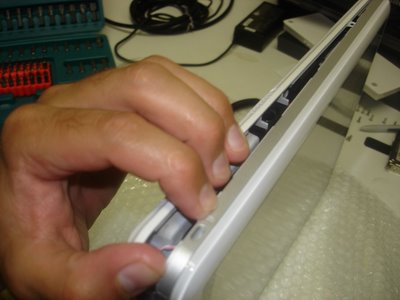
That's right, go where the sun don't shine!
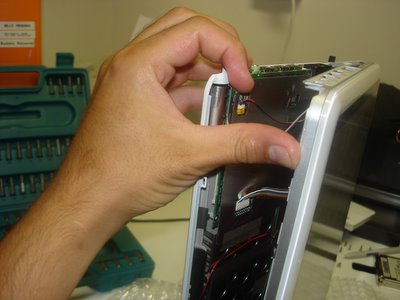
Now this is where your average Power User becomes Power-less, but not you, your an Uber Tablet Geek. Do you see the little ribbon cables, that's where your hands are gonna' surgically disconnect the screen from the motherboard.
Come on, get in there!
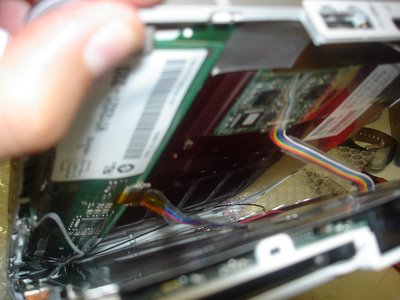
Well done Uber Geek! You've carefully peeled away both halves to unveil the most glorious look at your Wacom Digitizer board sitting on top of the Tablet PC screen (LEFT pic.), while the alloy shielded motherboard anxiously awaits its undressing.
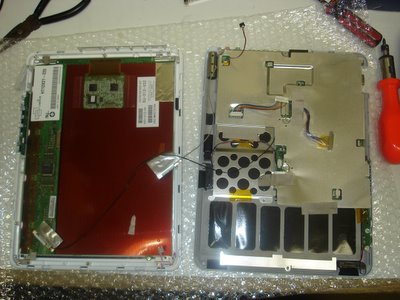
Don't let the beast intimidate you. Grab him, tame him, and unscrew the alloy shield and let's get to the motherboard!
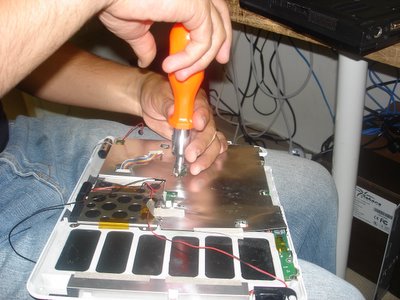
Now that we're at the guts of the machine, remove any of the remaining intestines (cables and connectors) from the motherboard.
You probably don't need to disconnect all the cables, but I just love pulling things apart.
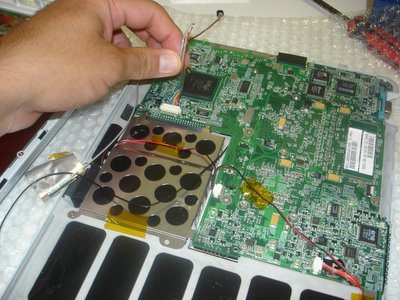
Release the motherboard from its human constraints (the case) and get ready to hit the PCB-spot.
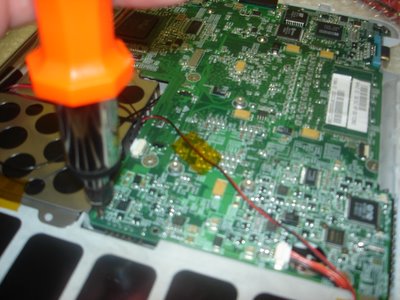
Now peel the case away from the motherboard, ensuring that you're not forcing them from each other.
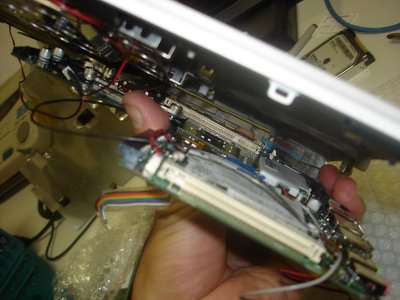
There she is, the under belly, a site that will either make your stomach turn or your heart race with excitement; either way it’s the device that has revolutionized the way a lot of us live.
Oh! There's the battery (in blue) that we've so eagerly gone hunting for. We’re now on the home stretch.
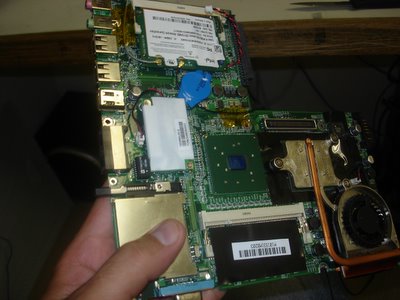
Now grab the 2-pin cconnector and seperate it from the motherboard for 3 seconds. You're done! Well done!
The BIOS is reset; now put it all back together you clown!
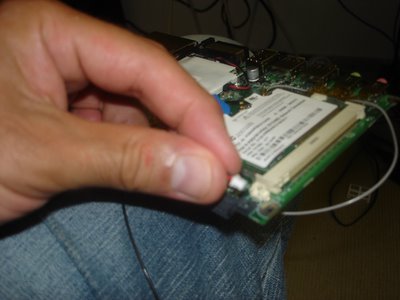
One last peek,
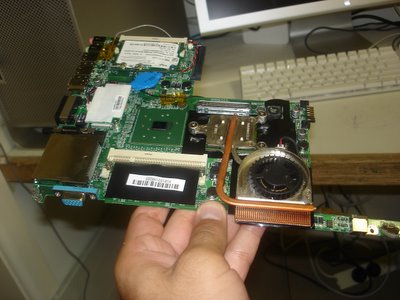
and back she goes. This unceremonious disrobing will soon be complete and the Tablet PC will live to INK another day.
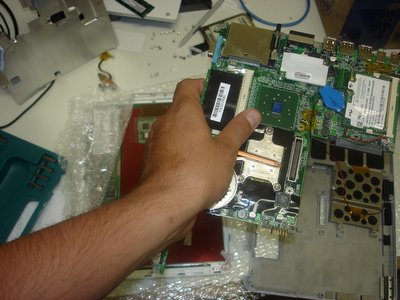
Turn the motherboard back over and secure it into place. Careful now, we don't want any screws left over!
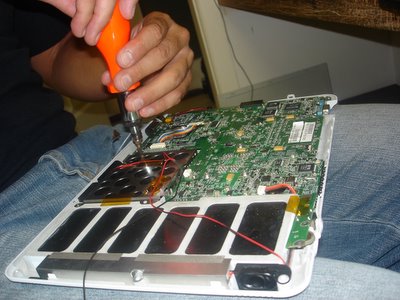
Alloy sheath back on, ribbon cables connected, and your almost ready to reunite both halves.
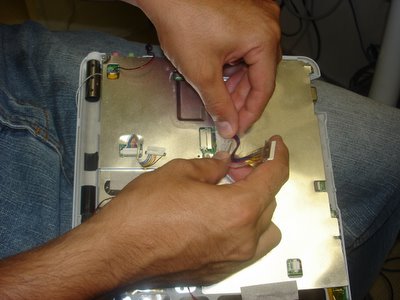
You'll require some finger gymnastics to really make this work so make sure you do your stretches.
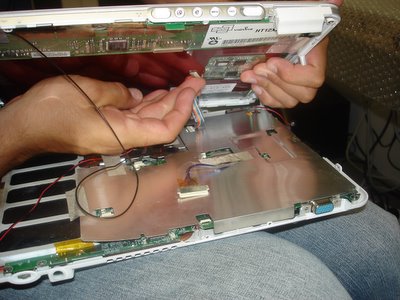
Don't forget to complete all the connections;
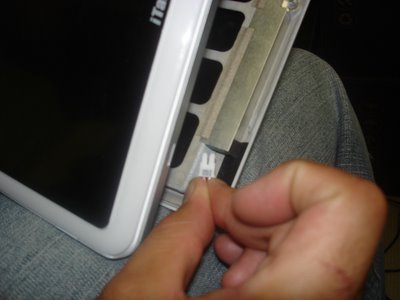
and I mean all of them.
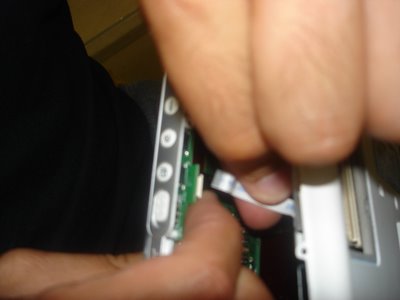
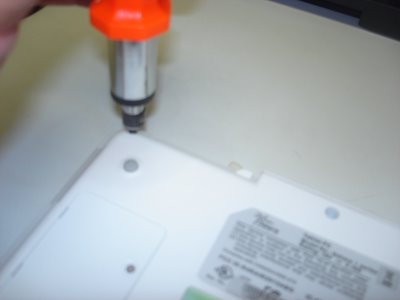
Wedge to two halves together, and fasten the screws again.
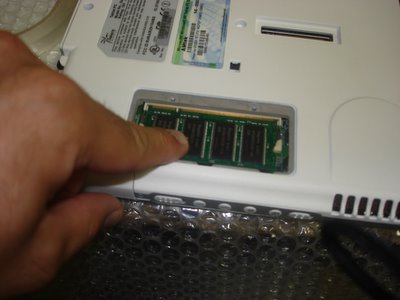
 Put the RAM back,
 Hard Disk back,
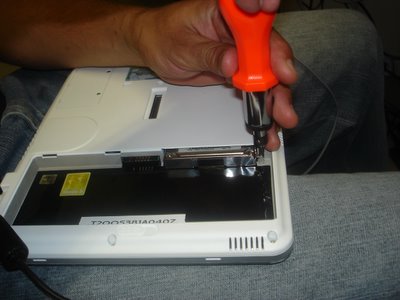
Battery Pack back,
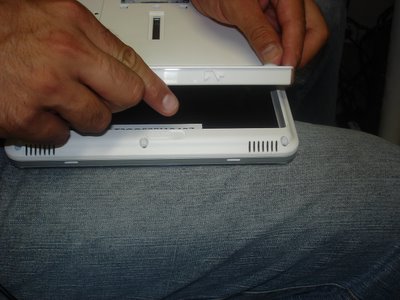
and you're all done Uber Geek.
- Need any more information?
- Had any PCB wars of your own?


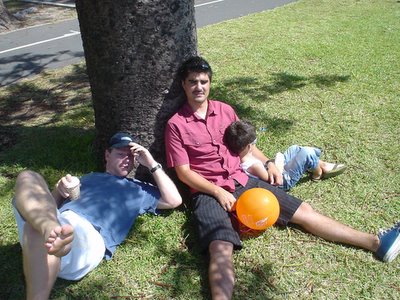


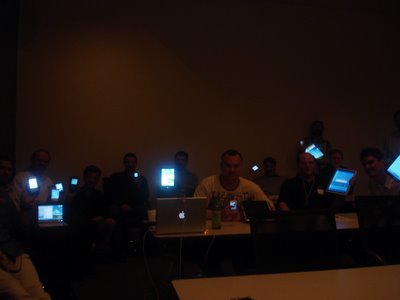 Oh yeh, here's a picture of our gathering, as only SWMUG members know how - cool isn't it? (That's me on the far right and Dr. Neil up against the wall).



 Put the RAM back,
 Hard Disk back,
